Create a Client PSE to connect to SAP Cloud Systems
The following article shows how to create a client PSE (Personal Security Environment) that can be used to connect to SAP cloud systems via WebSocket RFC.
Prerequisites
- SAP Cloud API URL, e.g.,
https://my123456-api.s4hana.ondemand.com. - Download the SAP Cryptographic Library (sapgenpse.exe and sapcrypto.dll) from the SAP Service Marketplace.
Create a Client PSE
To create a client PSE file that trusts the server certificate of the SAP cloud system:
- Enter the SAP Cloud API URL in a browser of your choice.
-
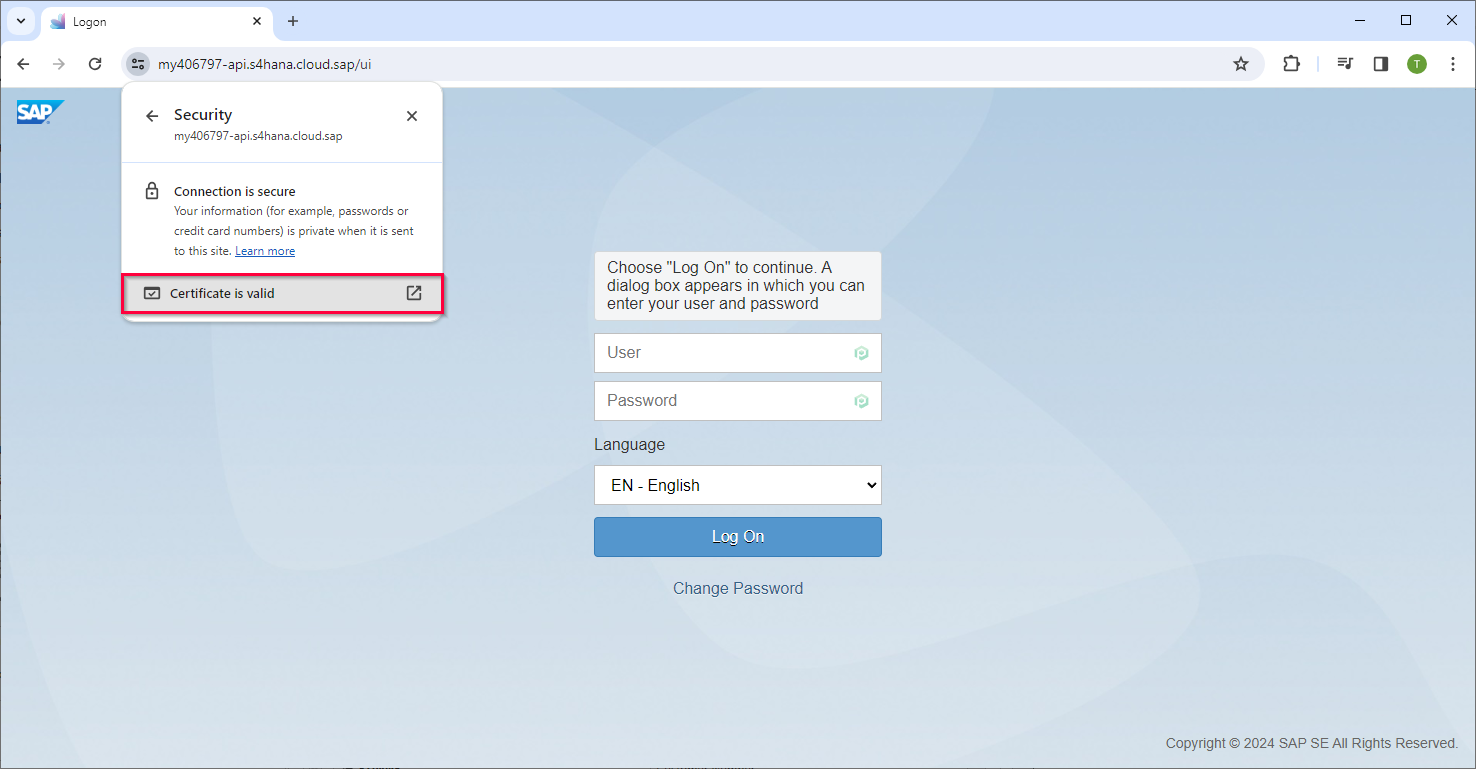
View the certificate in the browser.
Navigate to View site information > Connection is secure > Certificate is valid.
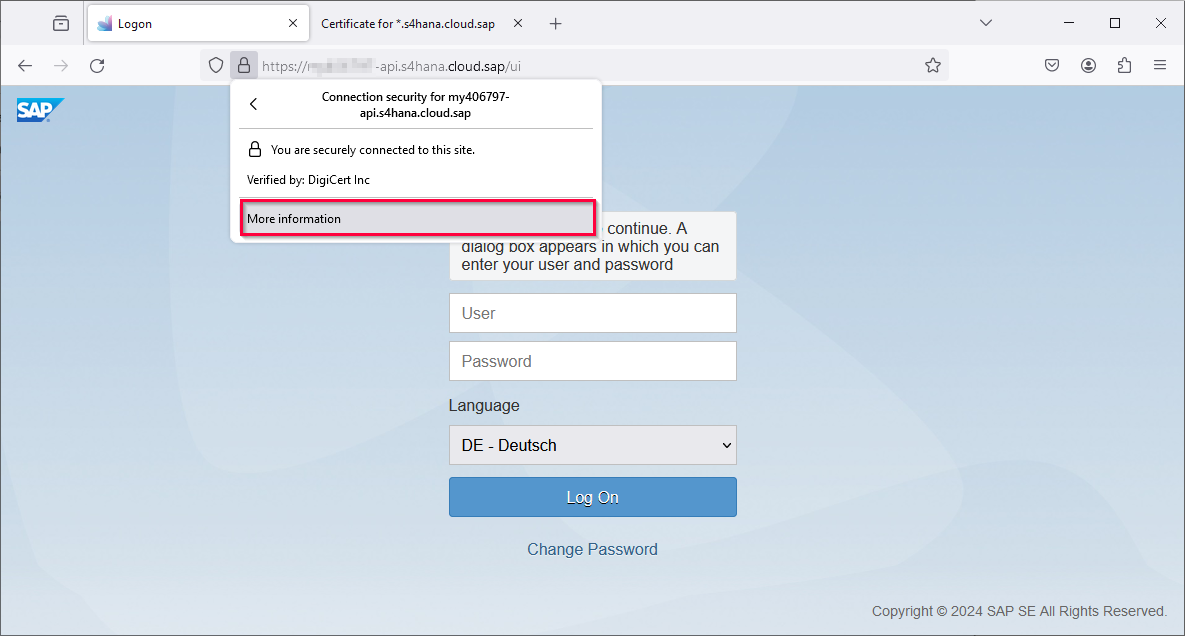
Click the pad lock icon left of the URL, navigate to Connection secure > More information, then click [View Certificate].
-
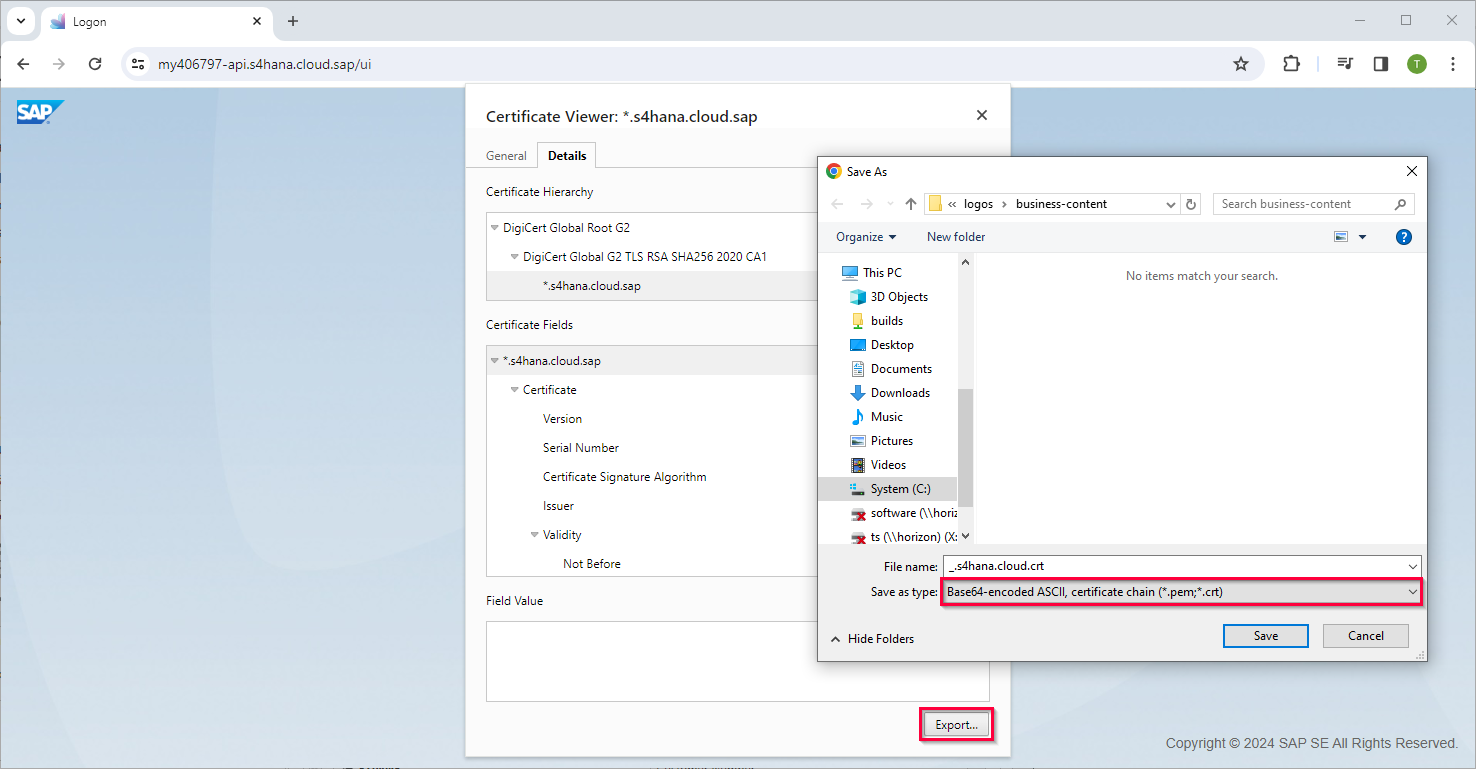
Download the certificate chain from the browser. The certificate chain contains all certificates that are signed by the server certificate.
Open the Details tab and click [Export...].
Make sure to save the file in the format Base64-encoded ASCII, certificate chain (*.pem;*.crt).
Scroll to the Miscellaneous section of the certificate and in the download row, click PEM (chain).

-
Use the sapgenpse command line tool to create a client PSE file:
- Replace
[Distinguished name]with the distinguished name of the server that runs ERPConnect, e.g.,"CN=COMPUTER.theobald.local, C=DE, S=BW, O=TS, OU=DEV". - Optionally, replace
client.psewith a custom filename for the .pse file. - The tool creates its own repository in a standard path, unless the path is changed by the environment variable SECUDIR or by specifying an absolute path.
Warning
Restricted Access
The PSE must be created without a password/pin, otherwise reading is not possible. Make sure not to secure the PSE. - Replace
-
Use the following command to add the certificate chain from step 3 to the client PSE:
Replace
[chain.pem]with the name of the downloaded .pem file, e.g.,s4hana-cloud-sap-chain.pem. For more information on how to use the sapgenpse.exe, run the commandsapgenpse -h.
The .pse file can now be used to connect ERPConnect to the SAP cloud, see SAP Connection - WebSocket RFC.
Written by: Valerie Schipka, Markus Eckert