Custom Entities
This page shows how to create, edit, publish, and delete Custom Entities in Enterprise Glossary.
About Custom Entities
Custom Entities are manually created Entities that represent a wide range of business or technical information. You can use Custom Entities to document technical objects that are not covered by automated synchronization. You can also use them for requirements, user instructions, business definitions, and other custom content.
Custom Entities are based on Custom Templates.
For information about commonly used fields and tabs in Custom Entities, see Fields.
Prerequisites
Creating Custom Entities requires Custom Templates.
Create Custom Entities
To create a new Custom Entity:
- In the navigation bar, go to Custom Entities. A list of existing Custom Entities opens.
- Click Create. The Custom Entity settings open.
- Enter a unique name for the Custom Entity in the field Name.
- Select a Custom Template from the Template dropdown.
- Optional: Select a target folder from the Directory Links dropdown.
- Optional: Enable or disable Attachments, Data Products and / or Linked Entities.
- Enter values for the available Custom Fields.
- Click [Publish].
The Custom Entity is available to authorized users.
Tip
You can import Custom Entities from a Microsoft Excel file, see Excel Interface.
Publish vs Draft
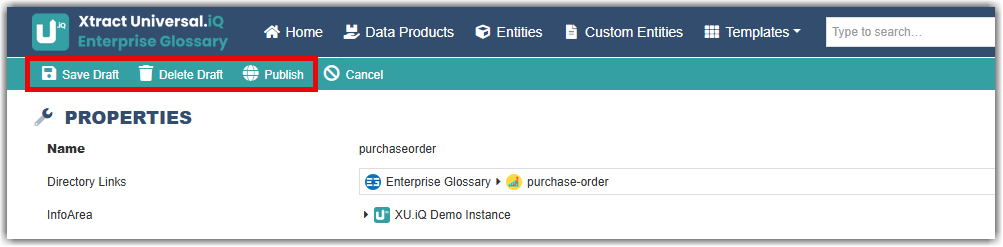
Edited Custom Entities can be saved as drafts. Saving a draft has no effect the existing Custom Entity. Only published versions affect existing Custom Entity and create new entries to the version history of the Custom Entity.
- To publish a draft, click Save Draft in the Custom Entity settings.
- To delete a draft, click Delete Draft in the Custom Entity settings.
- To publish a draft, click Publish in the Custom Entity settings.
Edit Custom Entities
To edit an existing Custom Entity:
- In the navigation bar, go to Custom Entities. A list of existing Custom Entities opens.
- Choose the Custom Entity you want to modify.
- Click the pen icon () in the Actions column of the Custom Entity. The Entity settings open.
- Make changes to the Custom Entity:
- Change the name of the Custom Entity.
- Change the assigned Custom Template.
- Enable or disable Attachments, Data Products and / or Linked Entities.
- Update Custom Field values.
- Click [Publish] to update the existing Custom Entity.
The Entity is updated.
Tip
You can edit Custom Entities using the Excel Interface.
Copy Custom Entities
To copy existing Custom Entities:
- In the navigation bar, go to Custom Entities. A list of existing Custom Entities opens.
- Choose the Custom Entity you want to copy.
- Click the copy icon () in the Actions column of the Custom Entity. A popup window opens.
- Enter a unique name for the copied Custom Entity.
- Click [Clone]. The popup window closes.
The copy is saved as a draft.
Delete Custom Entities
To delete a Custom Entity:
- In the navigation bar, go to Custom Entities. A list of existing Custom Entities opens.
- Choose the Custom Entity you want to delete.
- Click the delete icon () in the Actions column of the Custom Entity. A popup window opens.
- Click [Yes].
The Custom Entity is removed from the list of Custom Entities.
Custom Entity Menu Bar
The Custom Entity menu bar contains:

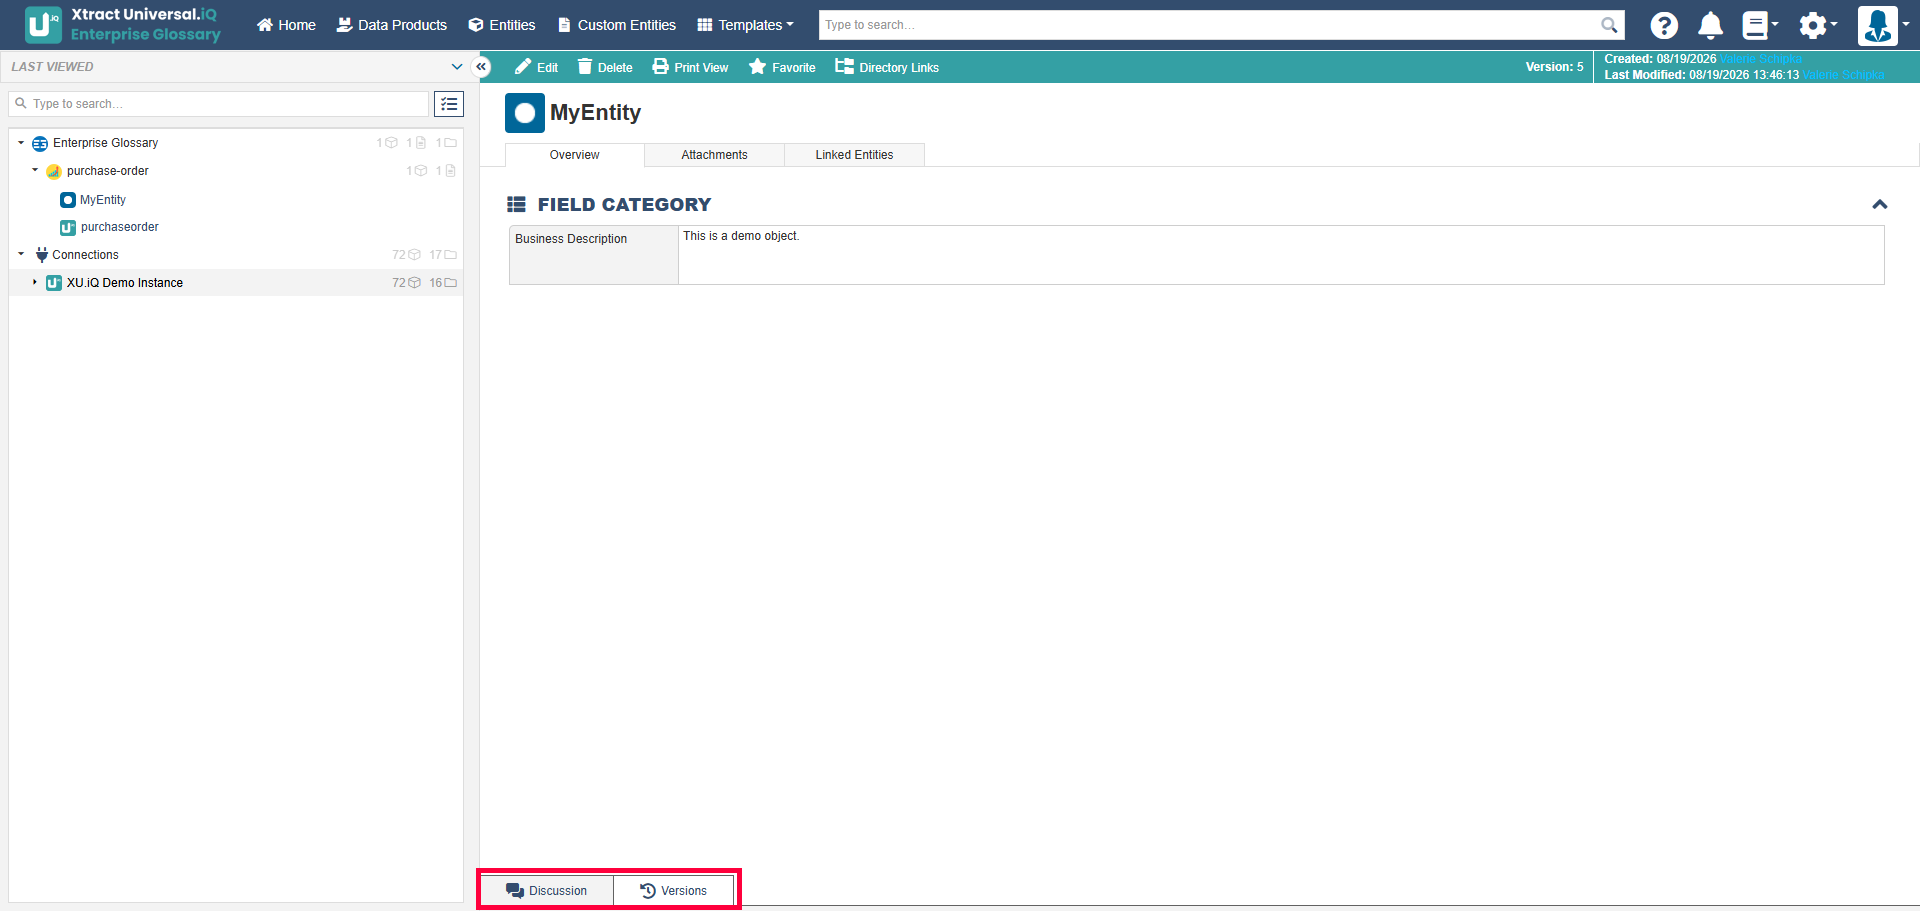
Custom Entity Bottom Drawers
The Custom Entity bottom drawers contain: