Extractions
This section shows how to create and manage extractions in Xtract Universal. Extractions are the core components of Xtract Universal. They enable you to read and write data to and from SAP systems.
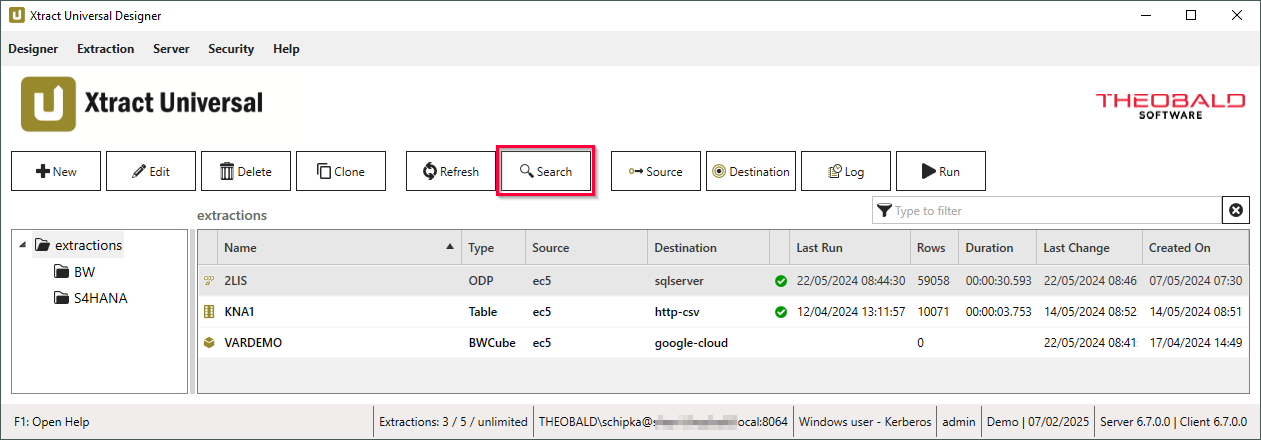
A list of all existing extractions is displayed in the main window of the Designer.
Extraction Types
The extraction type defines the SAP objects that an extraction can access. Xtract Universal supports the following extraction types:
| Extraction Type | Connection Type | Description |
|---|---|---|
| BAPI | RFC | Execute BAPIs and Function Modules. |
| BWCube | RFC | Extract data from SAP BW InfoCubes and BEx Queries. |
| BW Hierarchy | RFC | Extract Hierarchies from an SAP BW / BI system. |
| DeltaQ | RFC | Extract data from DataSources (OLTP) and extractors from ERP and ECC systems. |
| OData | OData | Extract data via SAP OData services. |
| ODP(OData) | OData | Extract ODP-based data using OData services. |
| ODP | RFC | Extract data via the SAP Operational Data Provisioning (ODP) framework. |
| OHS | RFC | Extract data from InfoSpokes and OHS destinations. |
| Query | RFC | Extract data from ERP queries. Note: BEx queries are covered by BWCube. |
| Report | RFC | Extract data from SAP ABAP reports. |
| Table | RFC | Extract data from SAP tables and views. |
| Table CDC | RFC | Extract delta data from SAP tables and views. |
Edit Extractions
To modify an existing extraction:
- Go to the list of extractions in the main window of the Designer.
- Double-click an extraction.
- The window of the corresponding extraction type opens.
- Make the necessary changes.
- Click [OK]. The window of the extraction type closes.
The extraction is updated.
Change the SAP Source System
To change the source connection of multiple extractions at once:
- Go to the list of extractions in the main window of the Designer.
- Select a single extraction or use [Ctrl]+[left mouse button] to select multiple extractions. To change the destination of all extractions inside a folder, use [Ctrl]+[A] to select all extractions inside the currently open folder.
- Click [Source]. The "Change source" window opens.
- Select an SAP connection from the dropdown.
- Click [OK]. The "Change source" window closes.
All selected extractions are updated.
Change the Destination
To change the source connection of multiple extractions at once:
- Go to the list of extractions in the main window of the Designer.
- Select a single extraction or use [Ctrl]+[left mouse button] to select multiple extractions. To change the destination of all extractions inside a folder, use [Ctrl]+[A] to select all extractions inside the currently open folder.
- Click [Destination]. The "Destination Settings" window opens.
- Select a destination from the Destination dropdown.
- Click [OK]. The "Destination Settings" window closes.
All selected extractions are updated.
Delete Extractions
To delete an extraction:
- Go to the list of extractions in the main window of the Designer.
- Select a single extraction or use [Ctrl]+[left mouse button] to select multiple extractions.
- Click [Delete]. A confirmation window opens.
- Click [Yes] to confirm the deletion.
The extractions are removed from the list of extractions.
Organize Extractions in Folders
You can organize extractions in folders for better maintenance and mass editing. Folders are displayed in the left side tree view menu of the Designer. This menu reflects the local folder structure in the configuration directory of Xtract Universal, e.g., C:\Program Files\XtractUniversal\config\extractions
By default all new extractions are listed inside the folder extractions.
Create a new Folder
To create a new extraction folder:
- Go to the tree view in the main window of the Designer and right-click the extractions folder. The context menu opens.
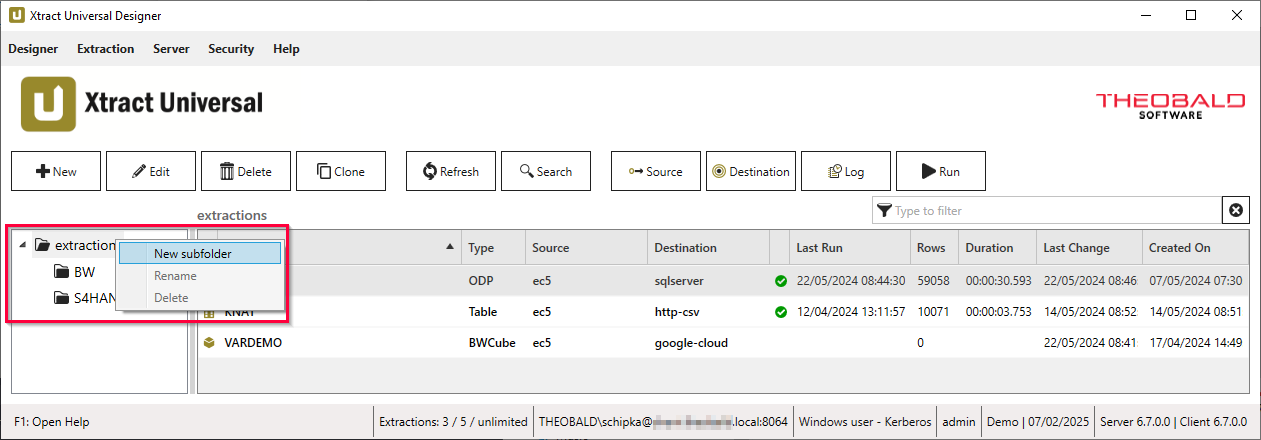
- Click New subfolder. The window "Create new subdirectory" opens.
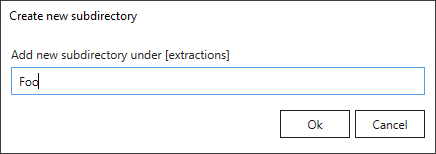
- Enter a unique name for the extraction folder.
- Click [OK].
The new subfolder is displayed in the tree view.
Add Extractions to a Folder
Note
When adding extractions to a folder, the folder name becomes part of the URL that runs the extraction, e.g., https://example.com:8165/[folder-name],[extraction-name]. Avoid moving extractions that are used by 3rd-party tools to avoid breaking changes.
To add existing extractions to a folder:
- Go to the list of extractions in the main window of the Designer and find the extractions you want to move.
- Select the extraction or use [Ctrl]+[left mouse button] to select multiple extractions.
- Drag and drop extractions from the list of extractions into a folder in the left side tree menu.
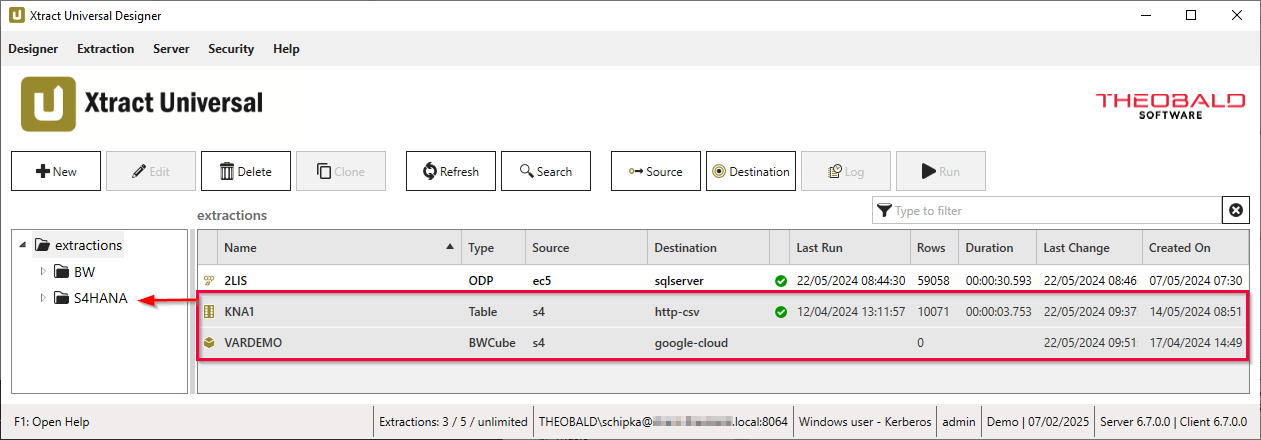
The selected extractions are now located inside the folder.
Rename a Folder
Note
Renaming a folder affects the URL that runs the extraction, e.g., https://example.com:8165/[folder-name],[extraction-name]. Avoid renaming folders that contain extractions used by 3rd-party tools to avoid breaking changes.
To rename an existing extraction folder:
- Go to the tree view in the main window of the Designer and find the folder you want to rename.
- Right-click the folder. The context menu opens.
- In the context menu, click Rename. The context menu closes and the "Rename folder" window opens.
- Enter a new name in the field Rename subdirectory.
- Click [OK]. The "Rename folder" window closes.
The folder now uses the new name.
Delete a Folder
To delete an existing extraction folder:
- Go to the tree view in the main window of the Designer and find the folder you want to delete.
- Right-click the folder. The context menu opens.
- In the context menu, click Delete. The context menu closes and a confirmation window opens.
- Click [Yes] to confirm the deletion.
The folder and its content is deleted.
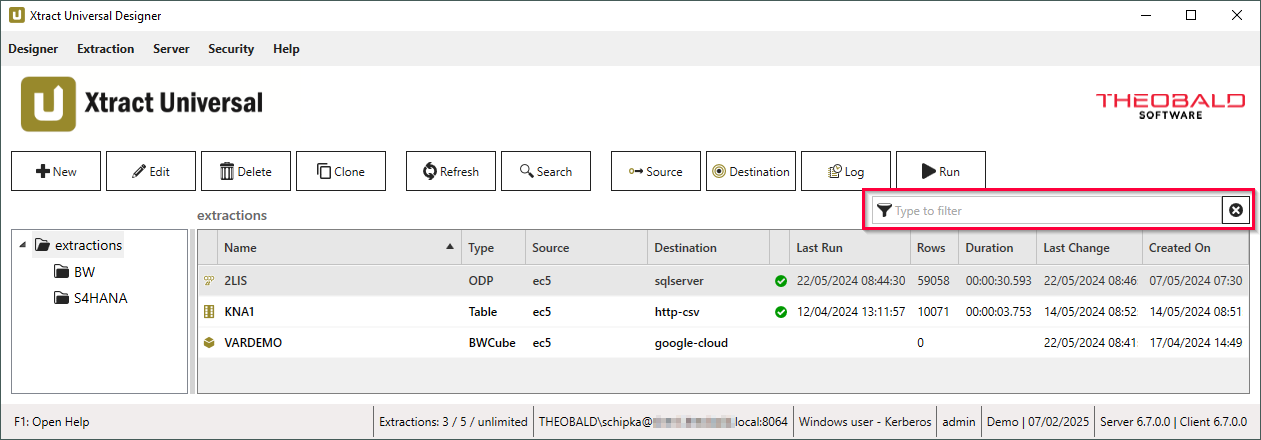
Look Up Extractions within a Folder
Use the search bar above the extraction list to filter the displayed extractions. Wildcards (*) are not supported.
Look Up Extractions in all Folders
To look up an extraction in all folders and subfolders:
- Go to the main window of the Designer and click [Search]. The window "Search Extractions" opens.
- Enter the name of a folder, extraction, extraction type, source system, destination or a keyword in the search bar.
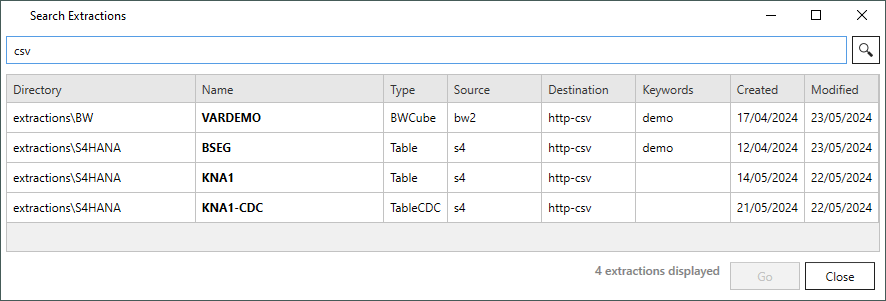
- Click . Search results are displayed.
- Select an extraction from search results.
- Click [Go].
The extraction is located and the corresponding folder opens.
Last update: June 29, 2026